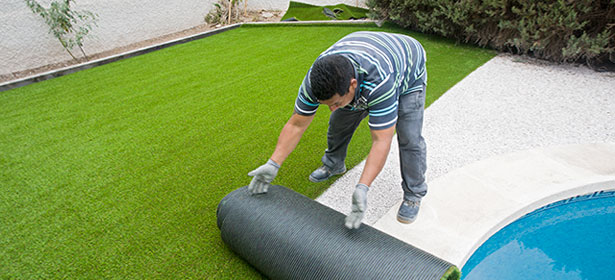
Artificial grass has become a popular alternative to natural grass due to its many benefits. Not only is it durable and long-lasting, but it also requires very little maintenance. However, when it comes to laying artificial grass on soil, the process can be a bit more complicated than simply unrolling the turf. In this blog post, we’ll guide you through the steps of laying artificial grass on soil, so you can enjoy a beautiful, low-maintenance lawn.

Step 1: Prepare the soil
Before laying the artificial grass, you need to prepare the soil. Start by removing any existing grass, rocks, or debris from the area. If the soil is uneven, you’ll need to level it out using a garden rake or shovel. Make sure the soil is level and compacted, as this will ensure a smooth and even surface for the artificial grass to sit on.
Step 2: Add a layer of sand
Once the soil is properly prepared, it’s time to add a layer of sand. This layer will help to provide stability and support for the artificial grass. Spread a layer of sand evenly over the soil, making sure it’s at least 20mm deep. Use a rake to level out the sand and create a smooth surface.
Step 3: Lay the artificial grass
Now it’s time to lay the artificial grass. Start by unrolling the turf and positioning it over the sand. Make sure the turf is positioned correctly and aligned properly with the edges of the area. If you need to cut the turf to fit, use a sharp utility knife or scissors.
Step 4: Join the seams
If you’re working with more than one piece of turf, you’ll need to join the seams together. To do this, overlap the two pieces of turf by at least 50mm, making sure the pile is facing the same direction. Use a carpet knife to trim any excess turf, then fold back the edges of the turf and lay a seam joining tape along the length of the seam. Apply adhesive along the tape and press the edges of the turf firmly together.
Step 5: Secure the artificial grass
Once the turf is in place, it’s time to secure it to the ground. You can use galvanised steel fixing pins to secure the turf every 20cm around the edges. Be careful not to overstretch the turf as you apply the pins, as this can cause the turf to warp or ripple.
Step 6: Add infill
To help the artificial grass stand up and look more natural, you’ll need to add infill. This can be either sand or rubber granules, which are spread over the surface of the turf to help weigh it down and keep the fibres upright. Spread the infill evenly using a stiff brush or a mechanical spreader.
Conclusion
Laying artificial grass on soil can be a bit challenging, but with the right tools and knowledge, it’s a task that can be accomplished by most homeowners. By following these six steps, you’ll be able to create a beautiful, low-maintenance lawn that will last for years to come. If you still feel unsure about laying artificial grass or want to avoid the hassles of installing it, you can always get in touch with professional landscaping services or artificial grass suppliers who can take care of the installation for you.